

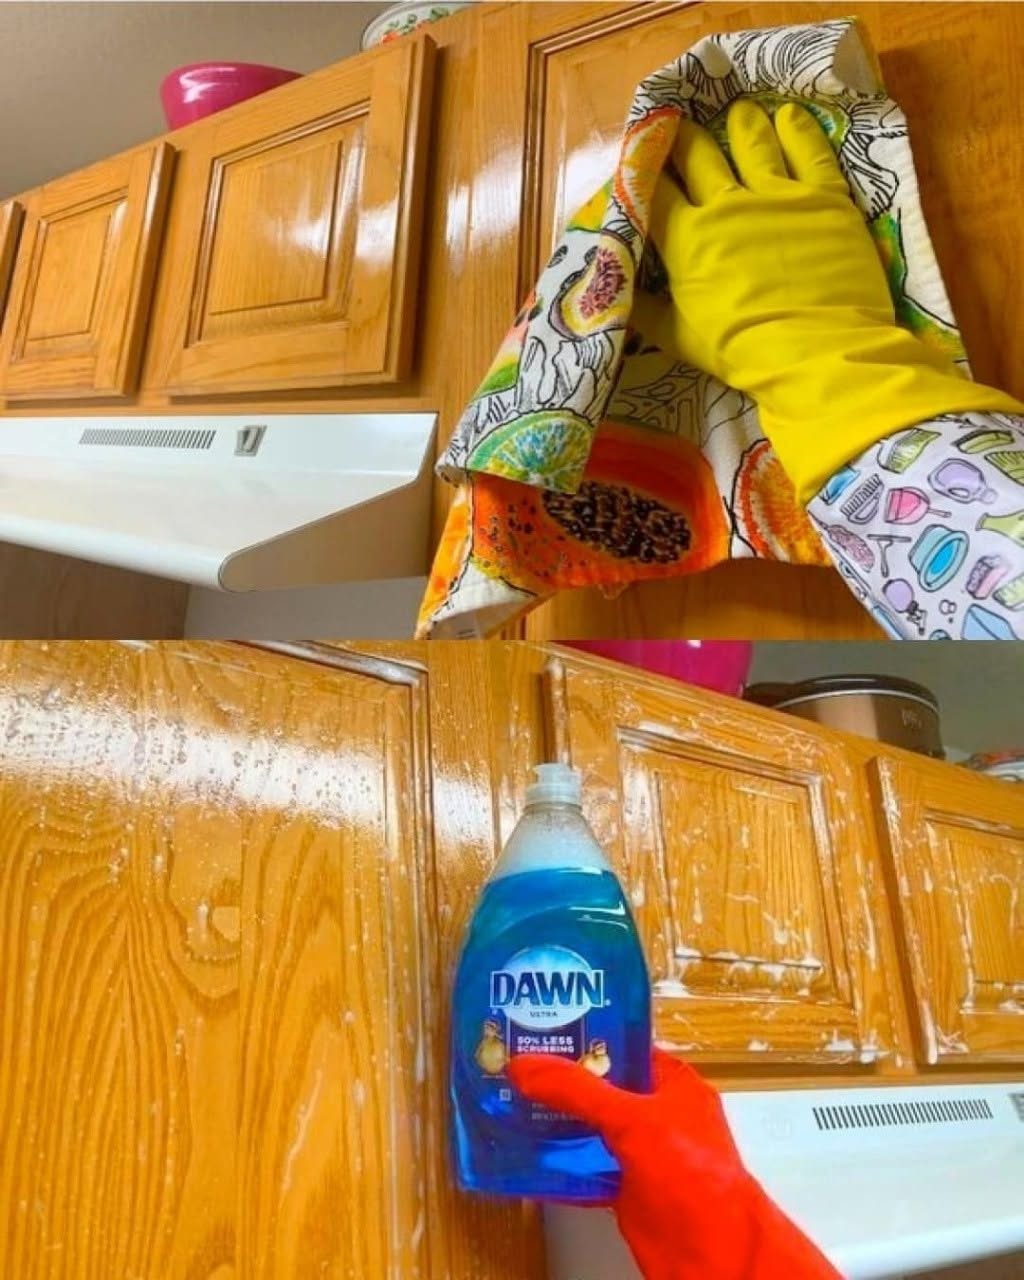
Step 3: Gently Remove the Grease
Dip a microfiber cloth into the cleaning solution and wring it out thoroughly.
The cloth should be damp, not dripping wet.
Starting at the top of each cabinet door, gently wipe the surface, paying particular attention to areas around handles and near the stove.
For stubborn greasy spots, hold the damp, soapy cloth against the area for 20–30 seconds before wiping gently.
Avoid aggressive scrubbing, which can scratch or damage the cabinet finish.
Step 4: Clean Corners, Handles, and Grooves
Cabinet handles and decorative details often collect more grime than flat surfaces.
Use a soft toothbrush lightly dampened with the cleaning solution to carefully loosen dirt from these areas.
Work gently around corners and raised panels, taking care not to force water into joints or seams.
If possible, remove cabinet hardware to clean it separately, following the manufacturer’s care instructions.
Step 5: Wipe Away Soap Residue
Once the grease has been removed, take a second clean microfiber cloth and dampen it with plain water.
Wring it out thoroughly, then wipe down the cabinets to remove any remaining soap.
This step is important because leftover detergent can create streaks or a dull-looking film.
Step 6: Dry Immediately for a Beautiful Finish
Use a clean, dry microfiber towel to thoroughly dry every cabinet surface.
Pay attention to edges, corners, and areas near hinges where moisture can collect.
Excess water can damage wood, veneer, and some painted finishes, so never allow cabinets to remain wet.
Once the surfaces are completely dry, gently buff them with a fresh microfiber cloth.
This final step can help restore the clean, even appearance of the existing finish.
How to Deal With Extra-Stubborn Grease
Continue reading on the next page →